


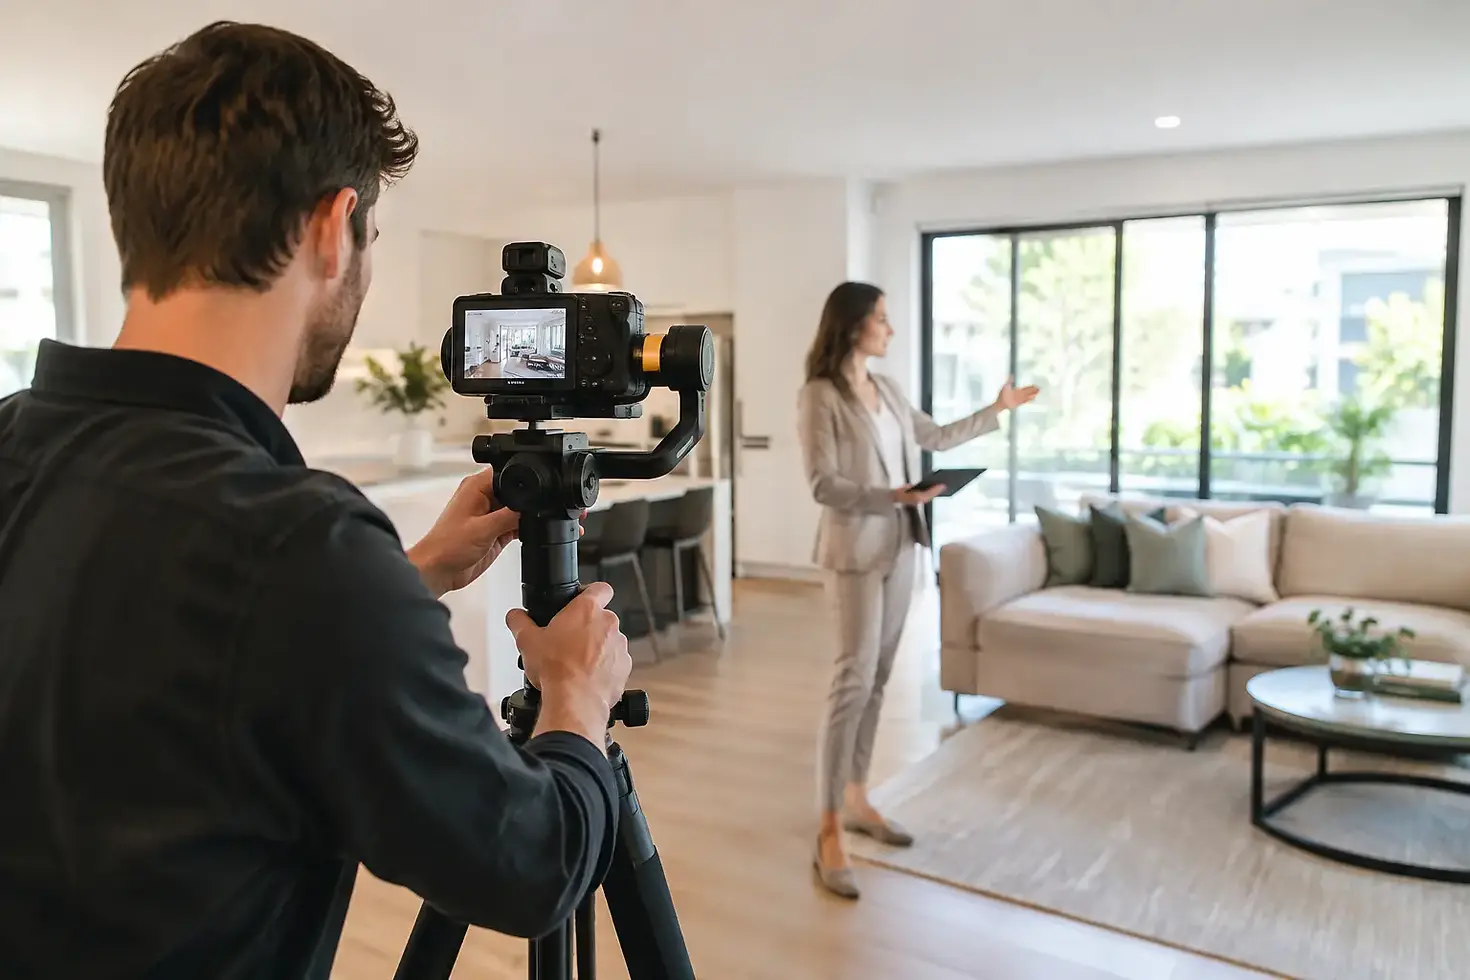
How to Film Property Walkthroughs That Sell
A property walkthrough can lose a buyer before they see the second room. Shaky movement, dark corners, rushed turns, and unclear room flow make even a well-designed space feel smaller and less valuable. Knowing how to film property walkthroughs is not simply about recording every room. It is about guiding viewers through the property in a way that builds confidence and encourages an inquiry.
For developers, hotel operators, real estate agencies, and property marketers, walkthrough video is a sales tool. It gives prospects a practical sense of space, layout, finishes, and lifestyle before they arrange a physical viewing. A professional result starts with a clear filming strategy, not just a camera.
Start With the Buyer Journey, Not the Camera
Before filming, decide what the viewer needs to understand in the first 10 seconds. For a condominium unit, this may be the view, the living area, or an open-plan layout. For a landed home, it may be the exterior arrival, driveway, entrance, and scale of the main living spaces. For a hotel, the priority may be the guest experience from lobby to room.
Walk through the property as a prospective buyer would. Identify the strongest first impression, the natural route through the space, and the features that justify the property’s price position. This prevents the common mistake of filming rooms in a random order and forcing the editor to create a story afterward.
A good route generally moves from arrival to entry, primary living areas, key rooms, outdoor spaces, and a final hero view. The sequence should feel logical. Viewers should never need to wonder where they are in the property or how one room connects to the next.
Create a Simple Shot Plan
A shot plan keeps filming efficient and protects important details from being missed. It does not need to be complicated, but it should identify the purpose of each shot. Include establishing shots of the building or exterior, the approach to the entrance, wide shots that show room proportions, moving shots that reveal layout, and close details that reinforce quality.
For example, a kitchen walkthrough may begin wide to show the full space, then move past the island to reveal cabinetry, appliances, and the connection to the dining area. This tells the viewer more than a series of isolated clips can.
Avoid filming every corner simply because it is there. If a utility area, storage space, or secondary corridor is not a selling feature, cover it clearly but briefly. The objective is an honest and appealing representation, not a long inventory list.
Prepare the Property Before You Film
Professional property videos depend heavily on preparation. The camera records everything: fingerprints on glass, tangled cables, uneven curtains, empty soap dispensers, bins, personal items, and cluttered countertops. Small distractions can make a premium property look poorly managed.
Clean all visible surfaces, turn on practical lights where appropriate, open curtains, and make beds and seating look intentional. Remove unnecessary signs, cleaning equipment, packaging, and loose items. In furnished properties, light styling can make rooms feel lived in without appearing crowded. A folded throw, set dining table, fresh towels, or a simple arrangement of cushions can add warmth and scale.
Time of day matters. Natural light is usually best when it supports the room rather than overwhelms it. If windows face direct afternoon sun, filming earlier may reduce harsh highlights and strong shadows. Exterior shots should be planned around the building’s best light, especially when the facade, pool, garden, or skyline view is central to the marketing message.
Use Equipment That Supports Smooth Movement
The most noticeable difference between amateur and professional walkthroughs is camera movement. Handheld footage can work for a casual social clip, but it often looks unstable in interior spaces. For property marketing, use a gimbal, stabilized camera system, or a camera setup designed for controlled movement.
A wide-angle lens is useful because it shows more of a room and makes navigation easier. However, going too wide can distort walls, door frames, furniture, and room proportions. The result may attract clicks but create disappointment during an in-person viewing. Choose a focal length that shows space accurately while maintaining a natural perspective.
Camera settings should be consistent throughout the property. Keep exposure, white balance, and frame rate controlled rather than allowing the camera to make major automatic changes while moving between windows, hallways, and rooms. Sudden shifts in brightness or color make the video feel less polished.
If you are filming for vertical social content as well as a website or listing platform, plan for both formats before the shoot. A horizontal master walkthrough may suit a landing page and YouTube, while shorter vertical versions can highlight a penthouse view, hotel suite, show unit, or key amenity for social media advertising.
How to Film Property Walkthroughs With Purposeful Movement
Move slowly enough for viewers to read the room. Most walkthroughs fail because the operator walks too quickly, pans too sharply, or turns before the eye has had time to settle. Smooth movement gives the audience a sense of control and makes a space feel more considered.
Start each shot with a brief pause, move at a consistent pace, and end with another short pause. This gives the editor clean points for transitions. Keep the camera around chest height in most rooms, then adjust slightly when a lower or higher angle better shows a feature. For example, a slightly lower angle can add presence to a kitchen island, while a higher angle may better show a compact bathroom layout.
Walk forward through doorways rather than swinging the camera side to side. Reveal rooms gradually. Let the viewer see a living room from the entrance, then move toward its strongest feature, such as balcony access, a feature wall, or a city view. This creates anticipation without becoming theatrical.
Be deliberate with doors. Open them before recording when possible, unless the opening itself creates a useful reveal. Avoid filming people’s hands, reflections, or shadows unless they are part of a planned lifestyle sequence.
Show Scale, Connection, and Selling Features
A wide shot is essential, but it should not be the only shot. Effective property walkthroughs combine wide views with medium movement and carefully selected details. Wide shots establish room size. Medium shots explain how areas connect. Detail shots support the property’s quality, from stone finishes and built-in cabinetry to rainfall showers, custom lighting, or premium fixtures.
The balance depends on the property. A compact urban apartment needs clear footage of storage, room flow, and practical use of space. A luxury home benefits from slower pacing, architectural lines, material details, landscaped areas, and lifestyle features. A hotel walkthrough should show how guests move through arrival, shared facilities, and the room experience.
Do not overuse detail shots. Beautiful close-ups cannot compensate for unclear room layout. Buyers need to understand the property first, then appreciate its finishes.
Control Lighting and Window Exposure
Windows are one of the hardest elements to film well. If the room is exposed correctly, the view outside may turn white. If the view is exposed correctly, the room may become too dark. This is where lighting control, careful camera settings, and professional post-production make a significant difference.
Use available light first, then add soft lighting only when necessary to lift dark areas or create consistency. Avoid mixing too many color temperatures. Warm indoor bulbs combined with cool daylight can make walls and furnishings look unnatural if not managed carefully.
Turn on lights when they add depth or make the property feel welcoming. In daylight, they may not be needed in every room. The right choice depends on the space, window direction, interior finishes, and intended brand position.
Edit for Clarity, Not Effects
Editing should make the journey feel effortless. Use clean cuts, consistent color, stable pacing, and music that supports the property without distracting from it. Fast transitions, excessive speed ramps, and dramatic effects can date quickly and may reduce credibility for high-value listings.
A typical property walkthrough performs best when it is concise enough to hold attention but long enough to answer practical questions. A small apartment may need only 45 to 90 seconds for a social-first version. A larger home, showroom, hotel, or commercial property may justify a longer edit with separate feature segments.
Text overlays can be useful for key facts such as unit type, built-up area, location advantages, room count, or amenities. Keep them brief and easy to read. The video should still work with sound off, since many viewers first encounter property content on mobile devices.
Know When Professional Production Adds Value
A phone and stabilizer can produce usable content for regular updates, construction progress, or informal social posts. But when a property launch, hotel campaign, flagship listing, or investor presentation depends on first impressions, professional production gives the marketing team greater control over lighting, composition, movement, color, and final deliverables.
For properties marketed across Malaysia and Singapore, Image 28 Studio approaches walkthrough video as commercial visual content: planned around the target audience, the property’s strongest selling points, and the platforms where the footage will be used. The goal is not just to make rooms look attractive. It is to help prospects understand why the property is worth seeing in person.
A well-filmed walkthrough should leave viewers with one clear feeling: they know the space, they can picture themselves in it, and they want to take the next step.


Comments